—
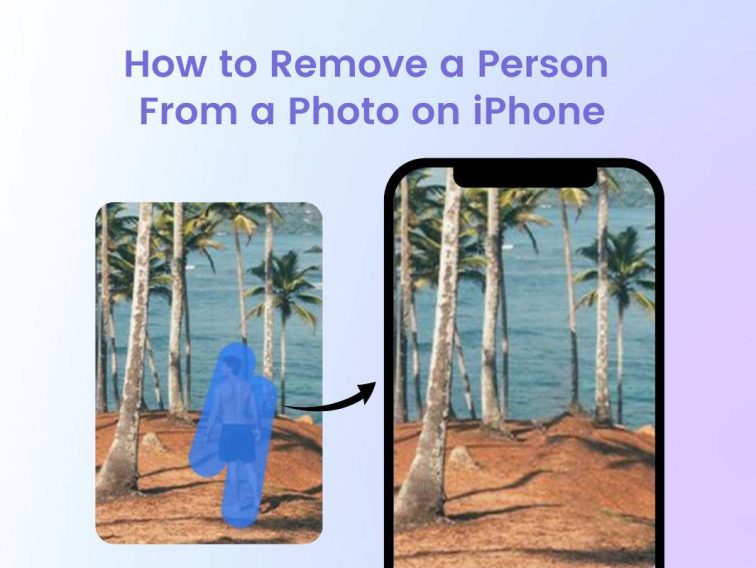
When it comes to how to remove something from a picture on iPhone, we’ve all been there: that perfect shot ruined by an unwanted object in the background. Luckily, taking that distraction out of your photos isn’t as hard as it sounds. Let’s dive into the methods and step-by-step guides to effortlessly erase those pesky elements using your favorite editing apps.
Contents
Methods to Remove Unwanted Objects from Photos

Using advanced photo editing software can transform your images completely. Seriously, you can go from an ordinary photo to something you’d be proud to share on Instagram. Why? Because these tools offer features specifically designed for object removal and background correction, making your editing game next level.
You might be wondering, “Which app should I use?” Don’t sweat it! I’m here to break down some of the best photo editing apps available for iPhone users.
Step 1: Choosing the Right App
Here are a few standout choices:
– TouchRetouch: This app is a superstar when it comes to removing objects. It’s user-friendly and makes it look so easy.
– Snapseed: A powerhouse app that includes a healing tool—a perfect option for fixing images.
– Adobe Photoshop Express: If you’re already an Adobe fan, this app aligns with the brand’s credibility and efficiency.
Step-by-Step Guide to Erasing Objects from Photos

Okay, let’s get to the fun part! Here’s a simple step-by-step guide that’ll help you erase unwanted objects from your pictures.
1. Opening the App
Fire up your chosen app, whether it’s TouchRetouch or Snapseed, and prepare to unleash your creativity.
2. Selecting the Photo
Choose the picture you want to edit from your gallery. Look for that one image where an object just doesn’t belong. It could be an annoying trash can, a weird tourist, or even an unexpected photobomber!
3. Identifying Objects to Be Removed
Take a look at your image. Pinpoint the object you want to disappear. You’ll want to get in close so you can really make the edits shine.
4. Using Tools for Erasure
Utilize the app’s tools to select and remove the unwanted object.
– In TouchRetouch, use the “Object Removal” tool. Just draw over the object, and bam! It’s gone!
– With the healing tool in Snapseed, tap on the object, and the app will blend the surrounding area seamlessly.
5. Saving the Edited Photo
Once you’re happy with your work, remember to save the edited photo. You wouldn’t want all that hard work to go to waste!
Additional Tips for Effective Editing

Editing isn’t just about erasing objects; it’s also about making your photos pop! Here are a few extra tips:
– Utilize Background Correction Tools: These tools can help you fix the area where the object was removed, improving the overall look of the photo.
– Experiment: Don’t be afraid to try out different features. Editing apps often come packed with tools to enhance your photos.
– Best Practices: Always aim for high-quality photos. The better your original photo, the more successful your edits will be.
User Experiences and Common Issues
I checked out the Apple Discussion Forum, and wow, the feedback was fascinating! Users often share their struggles with editing apps. Some common issues include:
– App Crashes: Always keep apps updated to avoid bugs.
– Learning Curve: Users may feel overwhelmed by all the features, but diving in is the best way to learn!
Recommended apps like TouchRetouch and Snapseed come loaded with tutorials, so take advantage of those to get the most out of your editing.
FAQ Section
Q1: Can I really remove objects easily on my iPhone?
Absolutely! With the right apps and techniques, you can erase distractions without much hassle.
Q2: Do I need advanced skills to edit my photos?
Not at all! Most apps are designed for beginners and provide intuitive features to simplify the process.
Q3: What if the object removal tool doesn’t get it right?
Sometimes, it might take a few tries! You may need to adjust your selection or try a different app.
Conclusion
So there you have it! Now that you know how to remove something from a picture on iPhone, I’d love to hear your thoughts. Have you tried these methods before? Feel free to drop your comments below, share this with your friends, or check out more tips and tricks on Iphone7price.org! Happy editing!